

Task One: Setting Up an Ad Hoc Support Session
Important: You can only provide ad hoc
support to Windows PCs.
Remember: An available seat is required to use the
ad hoc support feature.
Start an ad hoc support session
Remember: Only a single ad hoc support session can be
active at a time per user profile.
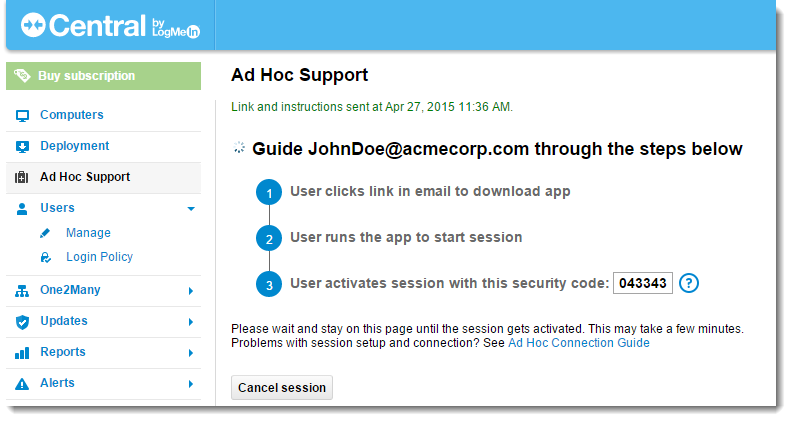
- In LogMeIn Central, click Ad Hoc Support.
-
Enter the email address of the user receiving support.
Step 1

-
Create a password.
This is the password that you must enter when logging in to the user's computer once the ad hoc support session has been activated.
Step 2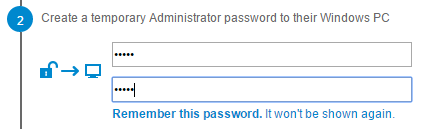
Important: Take note of this password, it will not be shown again.In Windows, the password is actually linked to a hidden Administrator account called LogMeInRemoteUser. This account is automatically removed when the session ends and the LogMeIn Support Session app is removed.
-
Click
Send email and prepare session.
The instructions and deployment link are sent to the user.
Guide your customer through setting up their computer
Remember: You can learn more about your customer's
experience in the
Ad
Hoc Support Step-by-Step Connection Guide.
-
Wait for the user to download and run the LogMeIn Support
Session app.
-
Provide the user with the security
code.
Important: Stay on this page and wait while the user's computer is set up for the session. Alternatively, make sure to take note of the security code before navigating to another page. It will not be shown again.
-
Ask the user to enter the security code when prompted. The
security code is required to pair the user's computer with your account.
Tip: Is your user having trouble? See this article for tips: Ad Hoc Support Troubleshooting.
The session becomes activated once the user has entered the security code and the LogMeIn Support Session app has been set up.
Remember: A session is valid for 24 hours from the time
of activation. During this period, the remote computer can be accessed any
number of times from the
Ad Hoc Support Sessions computer group on
the
Computers page.